Swift5.1.3 Xcode11.3 SwiftUI
- the way to develop function to add text to pictures
- Install your private photos into your app
- Design pictures and words on Canvas of Xcode
* Here is the highlight of YouTube tutorial.
In the design point of views, SwiftUI is useful because it has Canvas to
confirm the position of objects such as pictures, letters or buttons. Now,
let's create some album app with text over your photos.
After you start new project with Xcode, install some pictures into Assets.xcassets.
Don't forget image names, file names of your photos. They will be used
as follows;
Image(imageName)
.resizable()
.aspectRatio(contentMode: .fit)
To set the design of pictures, you can adjust resizable or aspectRatio.
If you comment them out, the image will be devastaed.
Next, you can add some text to pictures with the following code. If you
would like to create text over photos, use ZStack instead of VStack.
Text(memoText)
.font(.title)
.fontWeight(.black)
You can adjust font and color with it, too.
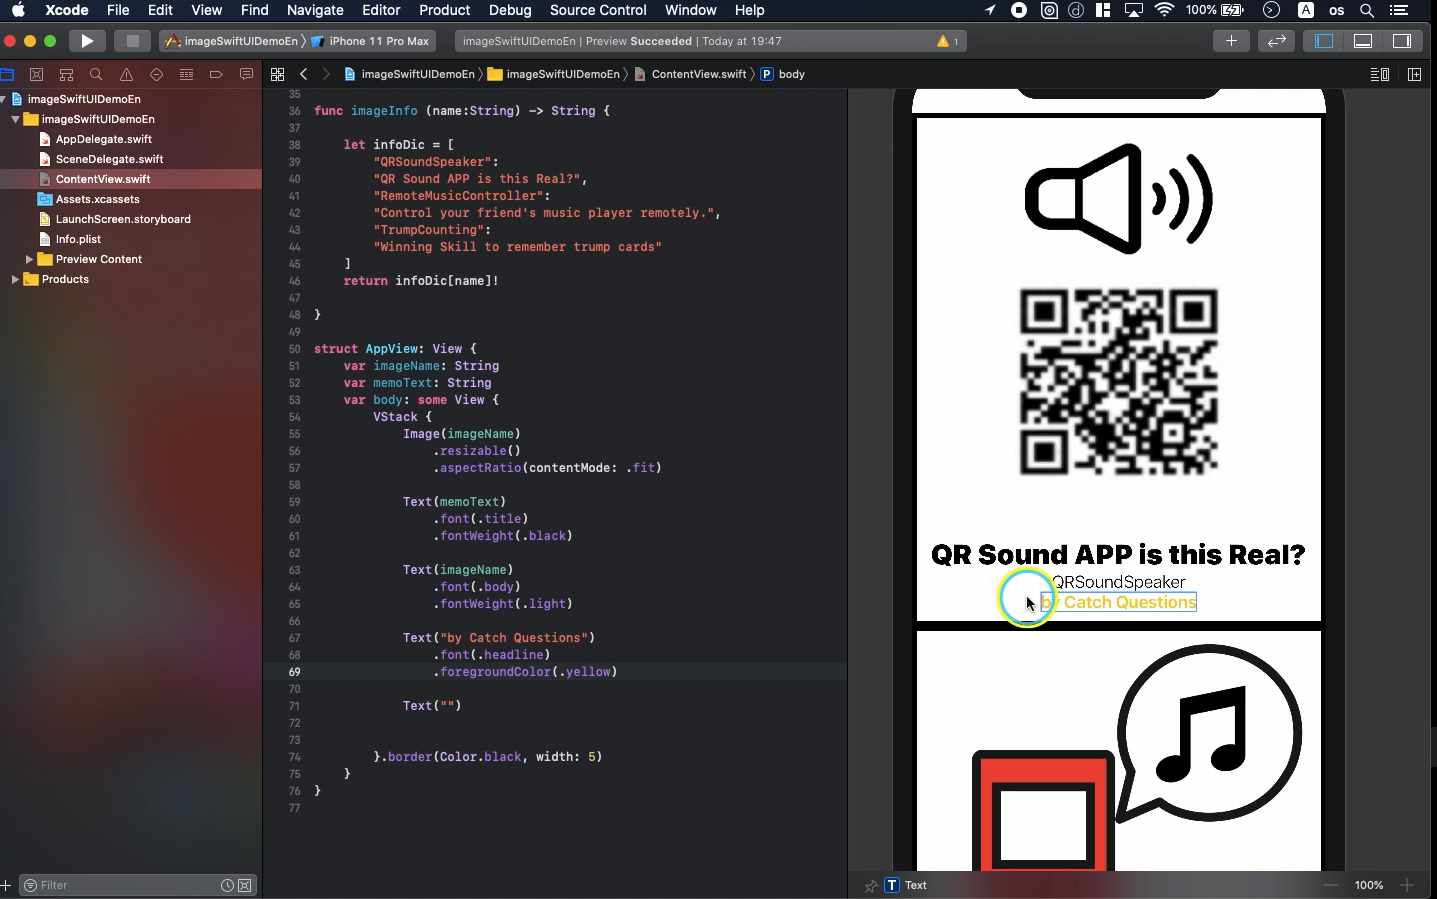
Now, let's review the structure.
struct AppView: View {
var imageName: String
var memoText: String
var body: some View {
VStack {
Image(imageName)
.resizable()
.aspectRatio(contentMode: .fit)
Text(memoText)
.font(.title)
.fontWeight(.black)
Text(imageName)
.font(.body)
.fontWeight(.light)
Text("by Catch Questions")
.font(.headline)
.foregroundColor(.blue)
Text("")
}.border(Color.black, width: 5)
}
}
To take note with pictures, use the following format. Change names as you
want depending on your pictures.
func imageInfo (name:String) -> String {
var infoDic = [
"QRSoundSpeaker":
"Listen to the sound from QR code",
"RemoteMusicController":
"Control your friend's music player remotely.",
"TrumpCounting":
"Winning Skill to remember trump cards"
]
return infoDic[name]!
}
The examples above are some apps I developed before. They are now on Apple
App Store. I used them for convenience.
In the ContentView, put in the code like this.
struct ContentView: View {
var imageNames = ["QRSoundSpeaker","RemoteMusicController","TrumpCounting"]
var body: some View {
ScrollView(.vertical, showsIndicators: true) {
VStack {
AppView(imageName: imageNames[0], memoText: imageInfo(name: imageNames[0]))
AppView(imageName: imageNames[1], memoText: imageInfo(name: imageNames[1]))
AppView(imageName: imageNames[2], memoText: imageInfo(name: imageNames[2]))
}
}
}
}
You can add more pictures than 3. Try this with different photos.
To get the source code, check the comment of my YouTube
Back to Table List
