Swift5.1.3 Xcode11.3.1 SwiftUI
- Create lockscreen with passcorde from UserDefaults
- Unlock display based on if statement confirmation
- Locked Sheet will always cover your content
* Here is the highlight of YouTube tutorial.
UserDefaults works differently on SwiftUI. So, you need to learn how it
works at first. Let me show you it a little. Please review the following
code. You can save the times of taps with UserDefaults.
@State var tapCount = UserDefaults.standard.string(forKey: "Taps")
?? ""
Button("Tap count:" + tapCount) {
var tapInt = Int(self.tapCount) ?? 0
tapInt += 1
self.tapCount = "\(tapInt)"
UserDefaults.standard.set(self.tapCount, forKey: "Taps")
// let idDomain = Bundle.main.bundleIdentifier!
// UserDefaults.standard.removePersistentDomain(forName: idDomain)
// UserDefaults.standard.synchronize()
// print("UserDefaults Reset")
}
Later, I will show you how passcode can be saved with this code so standard.string
is used here. Try to build and stop repeatedly. You can confirm the number
of taps can be saved.
When you uncomment the lower part, you can reset UserDefault. It's useful
for developer.
After you put some picture in your app, let's create some lock screens.
Please be careful. This is for beginner so the security is not enough.
Just for your studying.
struct SheetView: View {
@State var btnTitle:String
@State var showTrigger = true
var body: some View {
VStack {
Button(self.btnTitle) {
self.showTrigger = true
if self.btnTitle == "Reset Passcode" {
UserDefaults.standard.set("", forKey: "pass")
UserDefaults.standard.set("Create New Passcode", forKey: "message")
}
}
}.sheet(isPresented: $showTrigger, onDismiss: {
print("sheet action")
}) {
LockView()
}
}
}
UserDefaults works like a dictionary, which save your passcode with the
word of "pass" as the forKey. On the other hand, the message
will be changed depending on the existence of the other forKey, "message".
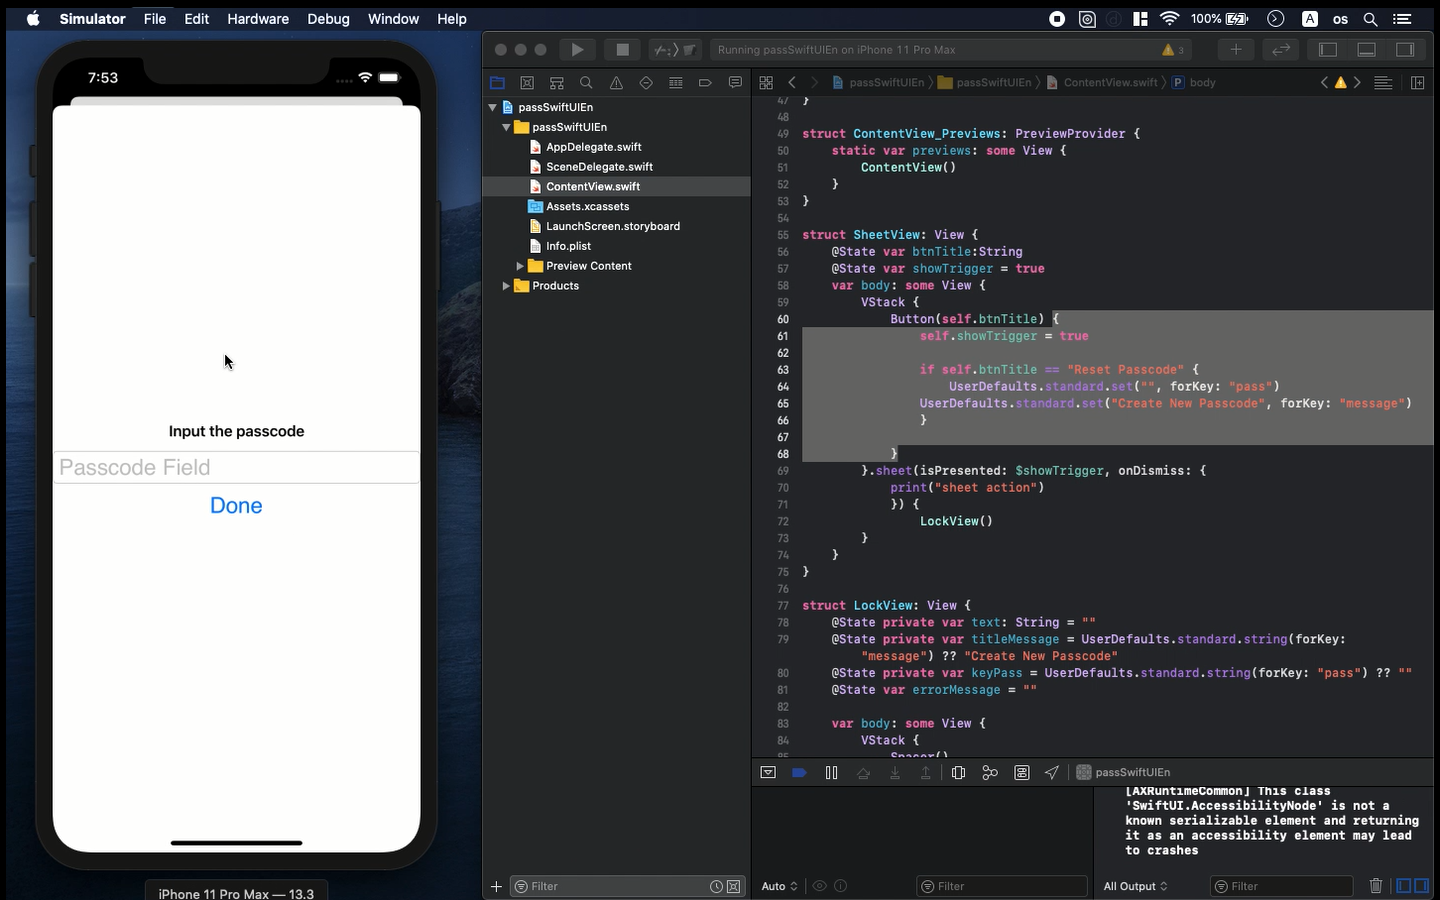
Now, let's customize the sheet view attached with a passcode field. The
code is like this.
struct LockView: View {
@State private var text: String = ""
@State private var titleMessage = UserDefaults.standard.string(forKey:
"message") ?? "Create New Passcode"
@State private var keyPass = UserDefaults.standard.string(forKey: "pass")
?? ""
@State var errorMessage = ""
var body: some View {
VStack {
Spacer()
Text(self.errorMessage).foregroundColor(.red)
Text(self.titleMessage).font(.headline)
TextField("Passcode Field", text: $text).textFieldStyle(RoundedBorderTextFieldStyle())
Button(action: {
if self.keyPass == self.text {
print("Incorrect Passcode")
UIApplication.shared.windows[0].rootViewController?.dismiss(animated:
false, completion: {})
print("done with", self.text)
} else if self.keyPass == "" {
print("Start Settings")
UserDefaults.standard.set(self.text, forKey: "pass")
UserDefaults.standard.set("Input the passcode", forKey: "message")
UIApplication.shared.windows[0].rootViewController?.dismiss(animated:
false, completion: {})
} else {
print("Incorrect Passcode")
self.errorMessage = "Incorrect Passcode"
}
}) {
Text("Done")
}
Spacer()
}.font(.custom("SFProText-Bold", size: 25))
}
}
The logical structure of this code is based on the if statement. When it
detect the text is blank, it will call the message to set some passcode
in the textfield. The if statement check if the input text and the value
of "keyPass" is same or not. If it is same, the lock screen will
be opened and you can see the contents such as your private picture.
By changing parameters, you can create two kinds of SheetView like this.
SheetView(btnTitle: "Reset Passcode", showTrigger: false)
SheetView(btnTitle: "Lock Screen", showTrigger: true)
The paremeter, btnTitle is for the title of message. The showTrigger works
as the checker to call the lock screen right after the app is started in
case the value is true. To prevent calling the lock screen twice, the other
value of showTrigger in SeetView() has to be false.
To make strong security, feel free to change and arrange this code above.
To get the source code, check the comment of my YouTube
Back to Table List
